- What Makes Statamic Forms Special?
- Creating Your First Form
- Adding Forms to Your Templates
- Handling Form Submissions
- Email Notifications
- Spam Protection
Statamic, the dynamic flat-file CMS built on Laravel, offers developers and content managers a streamlined and elegant way to handle forms. Unlike traditional database-driven CMS platforms, Statamic stores data in files, which can simplify the development process and improve performance. In this article, we'll walk through the essentials of creating and managing forms within Statamic.
What Makes Statamic Forms Special?
Forms are a crucial part of any website, providing a direct line of communication with visitors. In Statamic, forms are treated as first-class citizens, with a simple but powerful system that doesn't require complex database schemas. Form submissions are stored as flat files, which means setting up and deploying forms can be done quickly and with minimal fuss.
Creating Your First Form
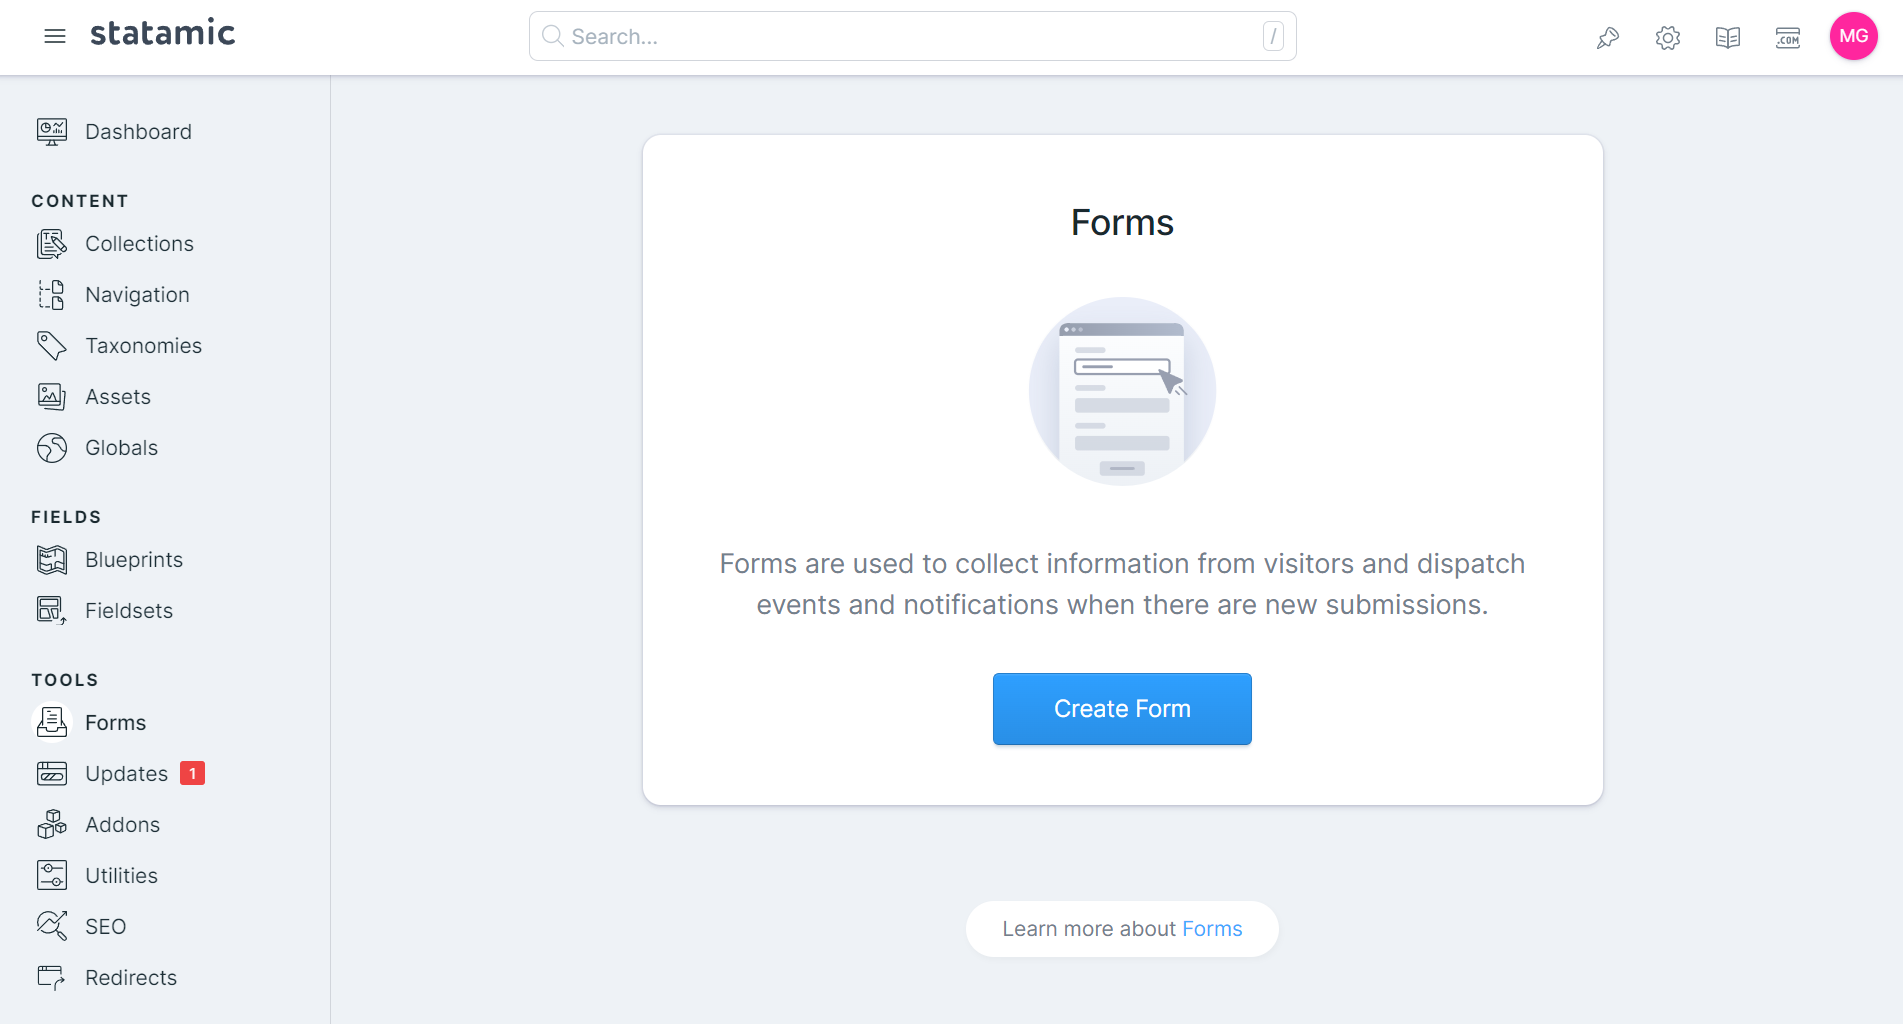
To get started with forms in Statamic, you can either use the Control Panel or define them manually in YAML files.
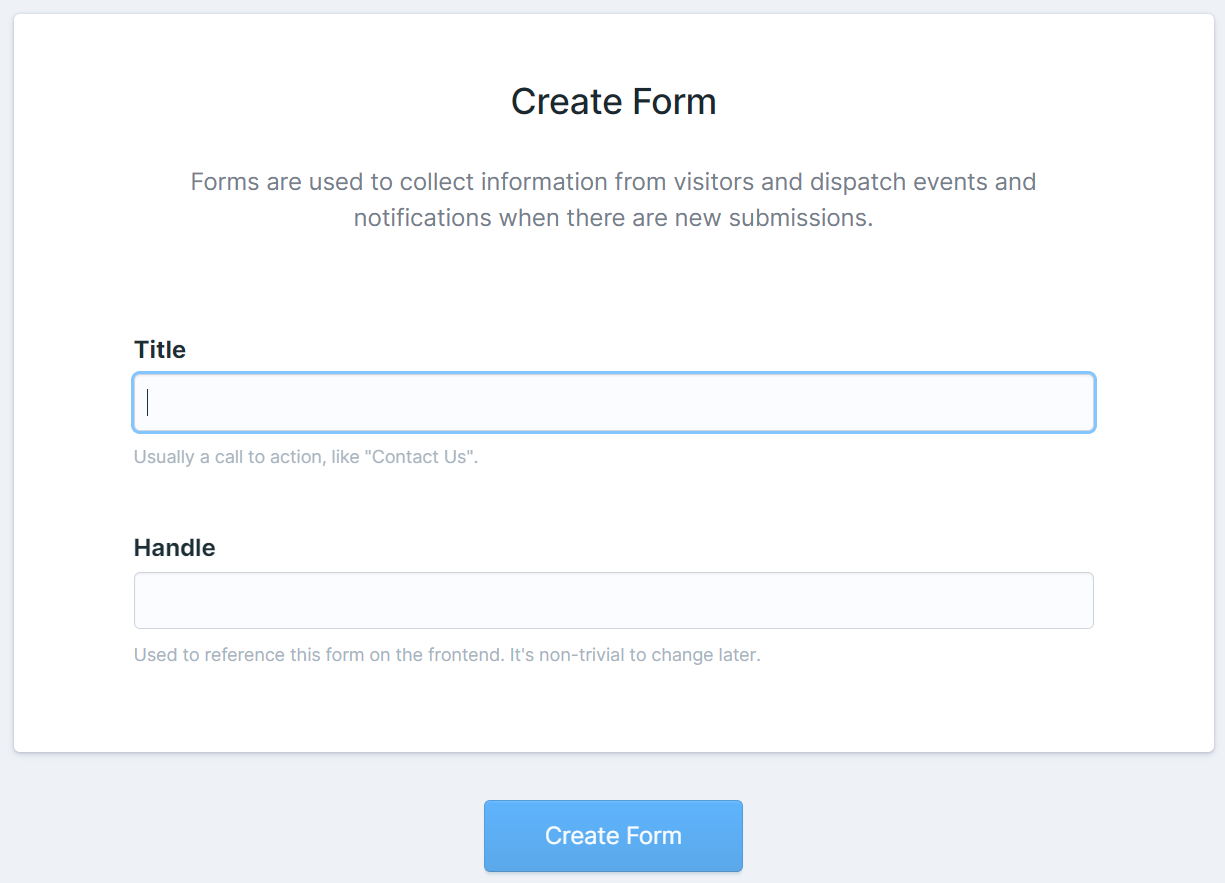
Using the Control Panel:
- Navigate to the
Formssection. - Click on
Create Form. - Fill out the details, such as the form's name and handle.
- Define the fields with the intuitive builder, specifying field types, validation rules, and display options.


Defining Forms in YAML:
Create a YAML file in site/content/forms/ with your form's configuration. Here's an example:
title: Contact Form
handle: contact_form
fields:
  -
    handle: name
    field:
      type: text
      display: Name
      validate: required
  -
    handle: email
    field:
      type: email
      display: Email
      validate: required|email
  -
    handle: message
    field:
      type: textarea
      display: Message
      validate: required
Adding Forms to Your Templates
Once your form is defined, you can easily embed it in your templates using Statamic's Antlers templating engine:
{{ form:create in="contact_form" }}
  {{ form:fields }}
    <div class="mb-4">
      <label for="{{ handle }}" class="block text-gray-700">{{ display }}</label>
      {{ field }}
      {{ if error }}
        <p class="text-red-500 text-xs italic">{{ error }}</p>
      {{ /if }}
    </div>
  {{ /form:fields }}
  <button type="submit" class="btn btn-primary">Submit</button>
{{ /form:create }}
Handling Form Submissions
Statamic provides a seamless submission process. When a form is submitted:
- Data is validated based on your rules.
- If validation passes, the submission is stored as a file.
- You can review submissions via the Control Panel or programmatically.
Email Notifications
Setting up email notifications for form submissions is straightforward. In your form's YAML file, add the email configuration:
email:
  -
    to: '[email protected]'
    from: '{{ email }}'
    subject: 'New submission from {{ name }}'
    template: 'emails.contact'
Spam Protection
Statamic comes with built-in spam protection. You can enable features like honeypot fields in your form's settings to keep those pesky bots at bay.
Forms in Statamic are simple to set up, flexible in their functionality, and integrate smoothly with the rest of the system. Whether you're building a simple contact form or a complex submission system, Statamic's approach to forms respects the principles of simplicity and efficiency of flat-file CMS architecture.


